

In a previous post I wrote about how to Register Autopilot Devices using the Get-WindowsAutoPilotInfo script:
But, typing out all the powershell commands, GroupTags, and Machine names takes time. The other issue is the possibility of typing errors. So what if we had a GUI that we could configure settings for, that utilizes the Get-WindowsAutoPilotInfo to Register Devices?
Additional Information #
AutopilotOOBE #
AutopilotOOBE is used to manually register a Device in Intune Autopilot. It is intended to run in OOBE (Out of Box Experience) by Client Support as a “friendly” method to use Get-WindowsAutopilotInfo
David Segura
So while running in OOBE, the AutopilotOOBE psmodule gives you a GUI to manually register a Device in Intune Autopilot. AutopilotOOBE takes your inputs in the GUI and passes the parameters to the ‘Get-WindowsAutoPilotInfo’ script.
I won’t go through all the specifics of AutopilotOOBE as the documentation does a great job of that. But lets run through how to manually run AutopilotOOBE from a device sitting at the OOBE.
Start-AutopilotOOBE #
Lets install and run the module
- From the OOBE, Press (Shift+F10)
- Within the cmd, type:
powershell
- Set the execution policy by typing:
Set-ExecutionPolicy Bypass -Force
- Install the ‘AutopilotOOBE’ PSModule
Install-Module -Name AutopilotOOBE- The current version on PSGallery is 21.10.26.1 - Powershell Gallery | AutopilotOOBE but this version does not have the ‘AssignedUser’ option available.
- If you want the ‘AssignedUser’ option, the previous version 21.8.31.1 has it. Install this version using the command below.
Install-Module -Name AutopilotOOBE -RequiredVersion 21.8.31.1
- After the module has been installed, Start-AutopilotOOBE
Start-AutopilotOOBE
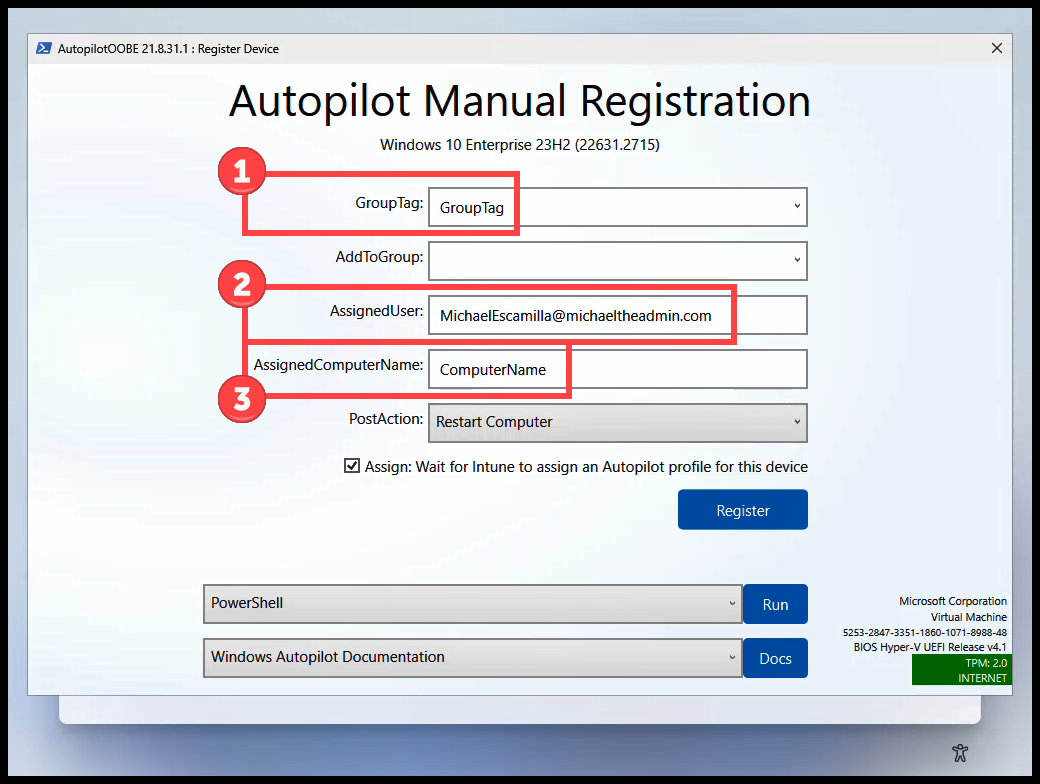
What options are available? #
I won’t cover everything here, but the major ones are:
- GroupTag
- Group Tag you want to apply to the Autopilot Device
- AssignedUser
- Assign the device to a user so that their information is pre-filled during Autopilot Setup
- AssignedComputerName
- Device Name you want configured during Autopilot Setup
Registering Device #
After you have entered all the information that you need within the GUI:
- Select ‘Register’
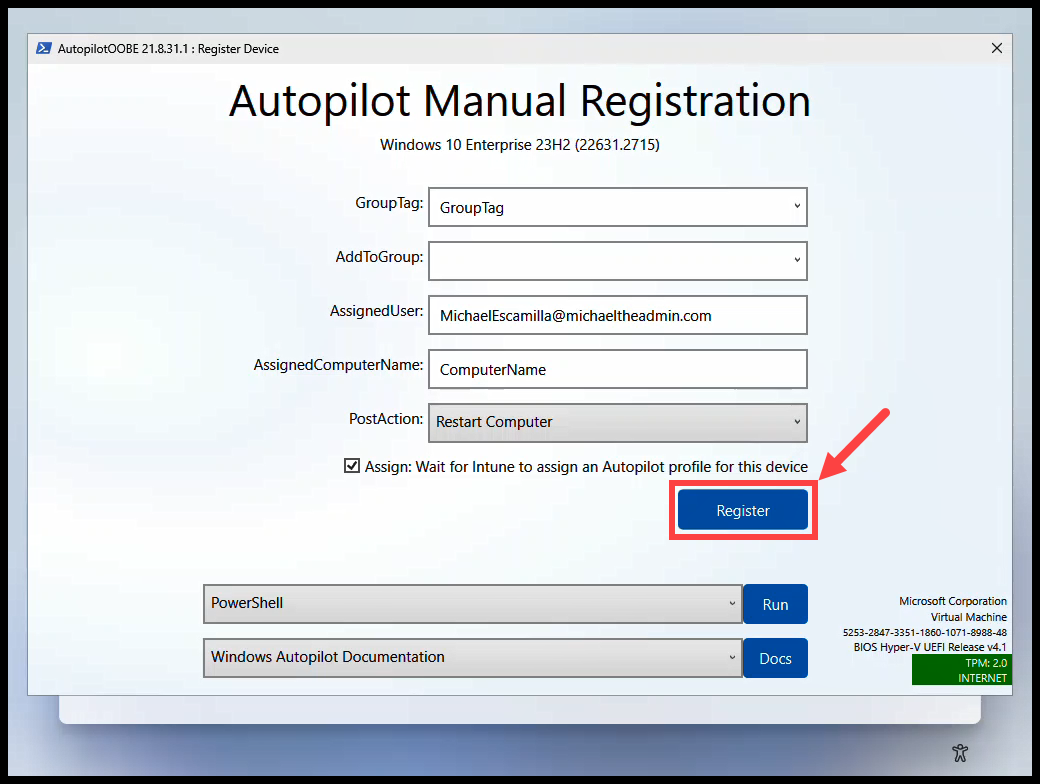
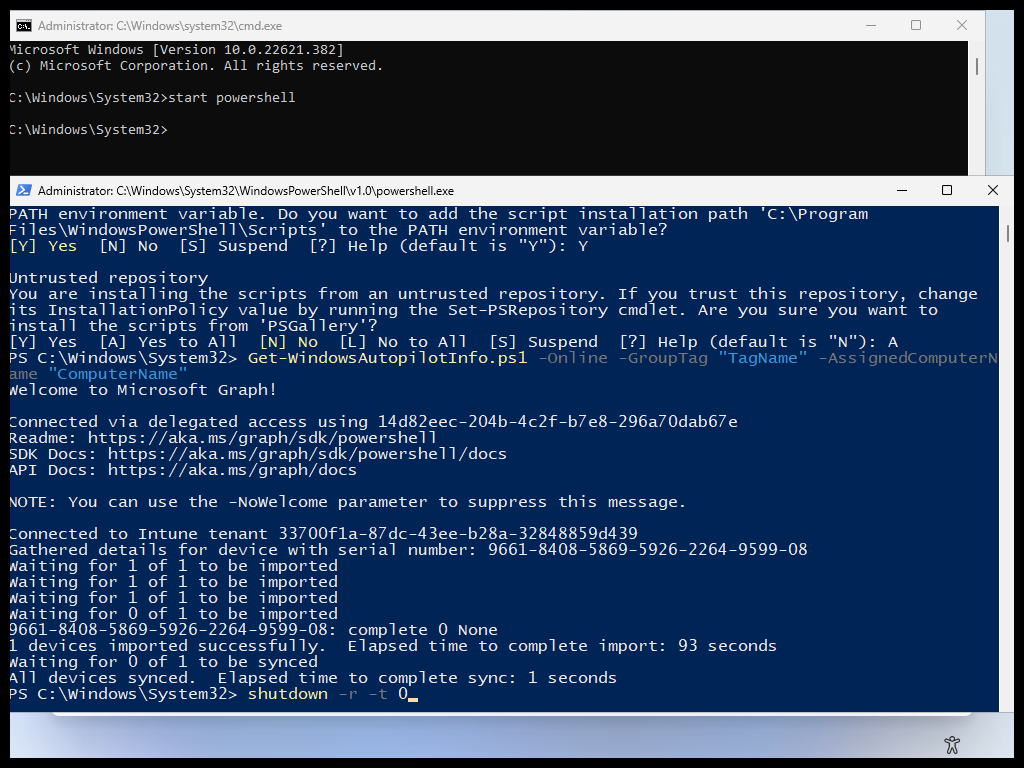
- The information you entered will be passed as a Parameter to the ‘Get-WindowsAutoPilotInfo’ script
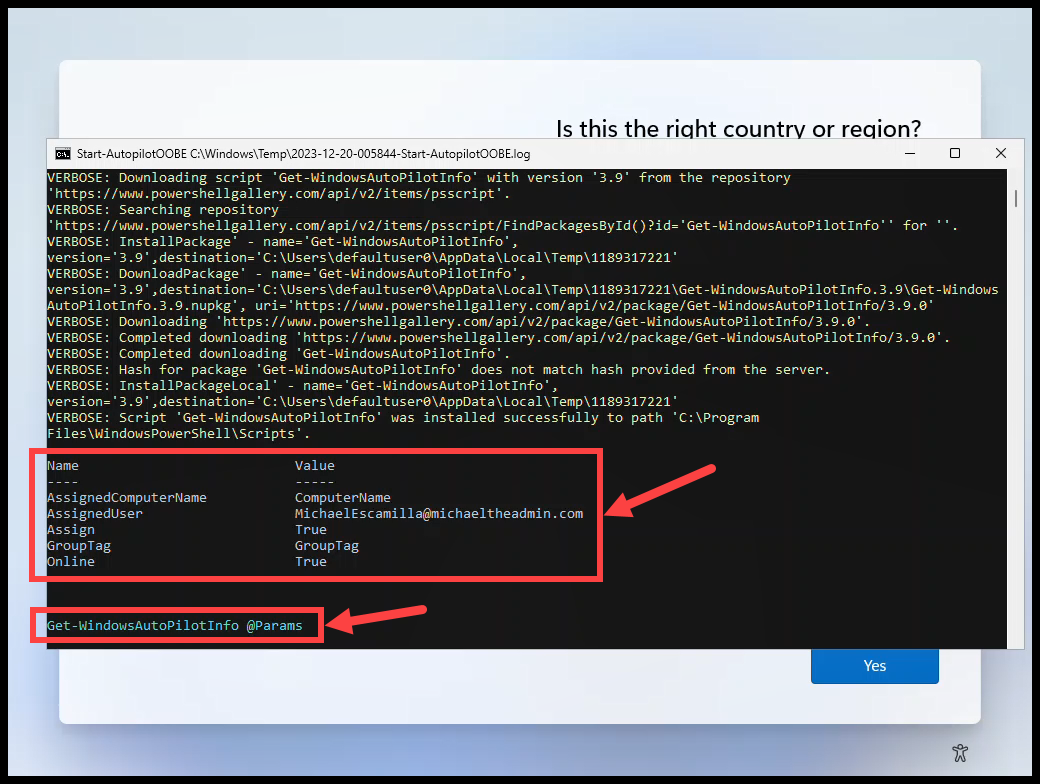
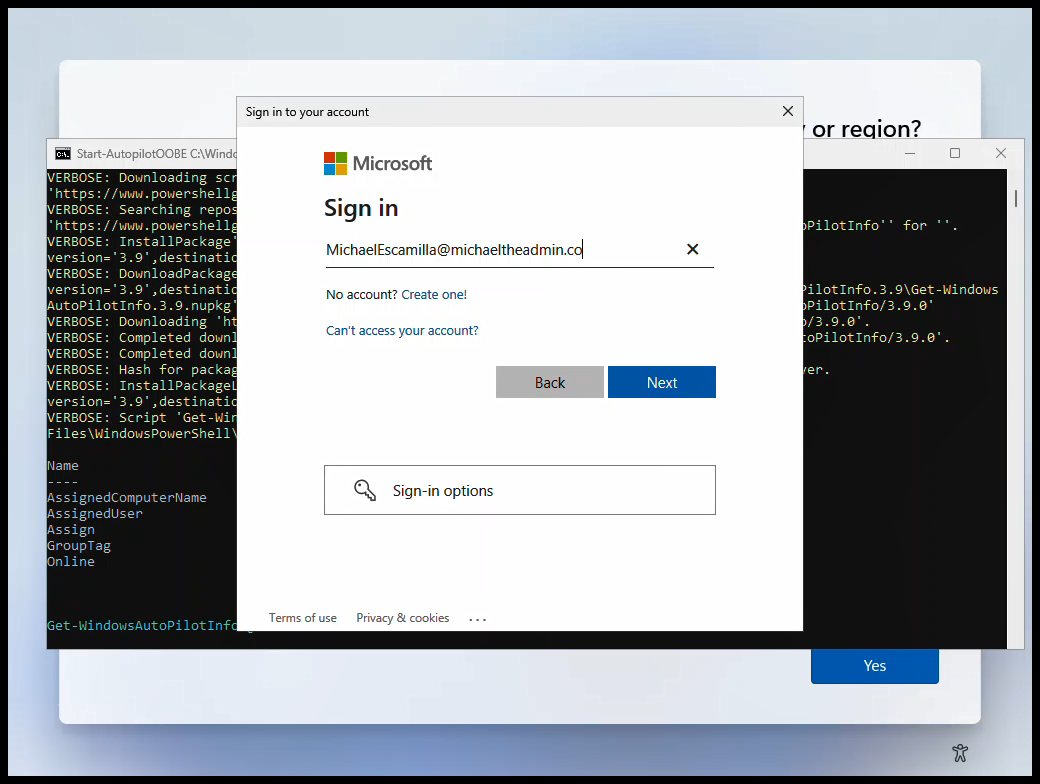
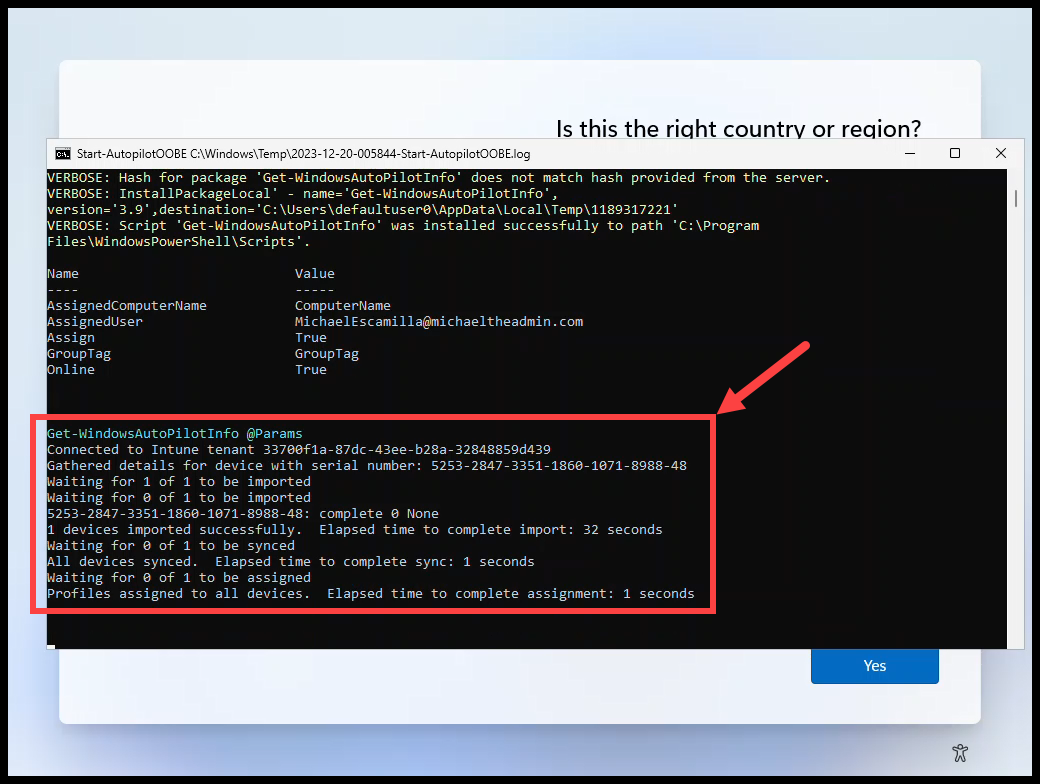
- After successfully authenticating, the process will start
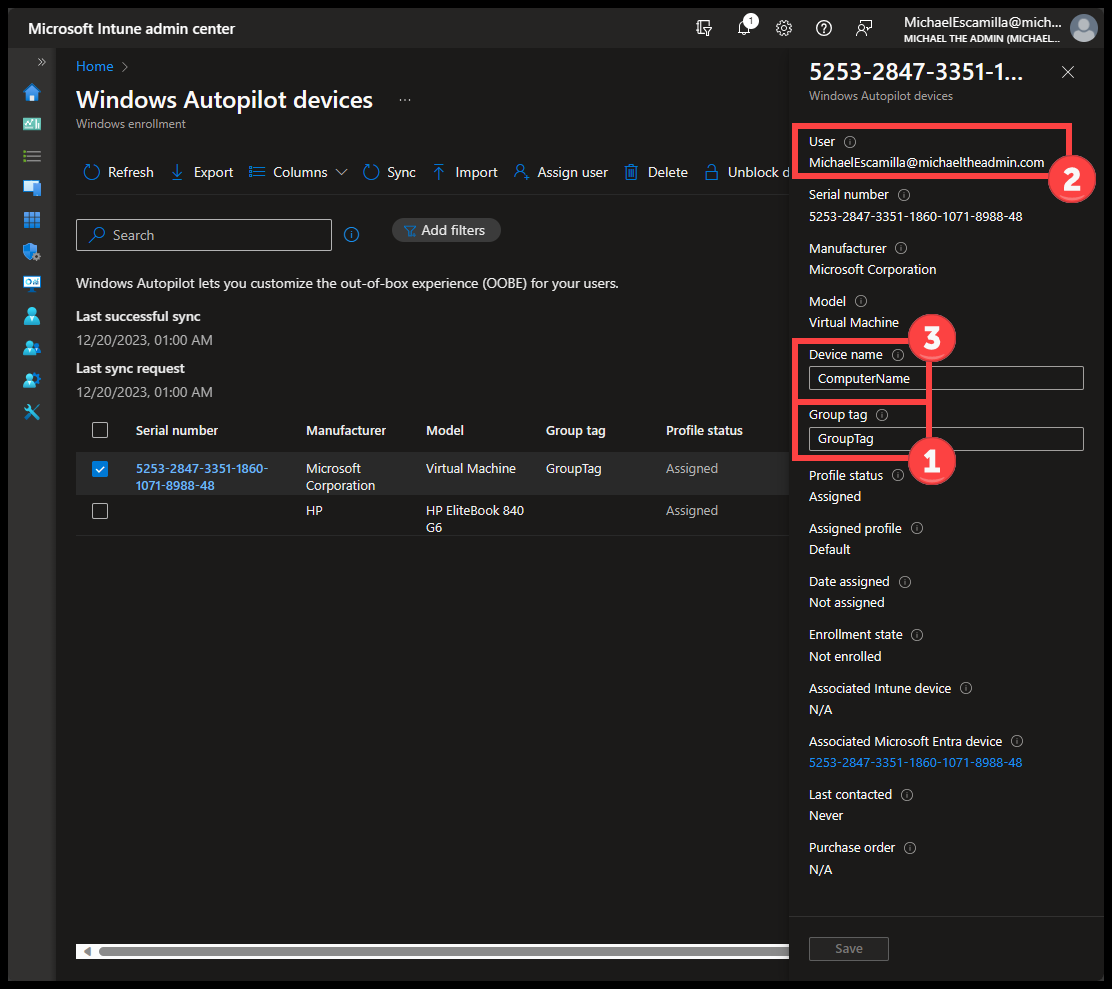
- The script will Import the Device first, then perform a Device Sync.
- If you selected the ‘Assign’ checkbox, the script will wait for the assignment to complete.
Success #
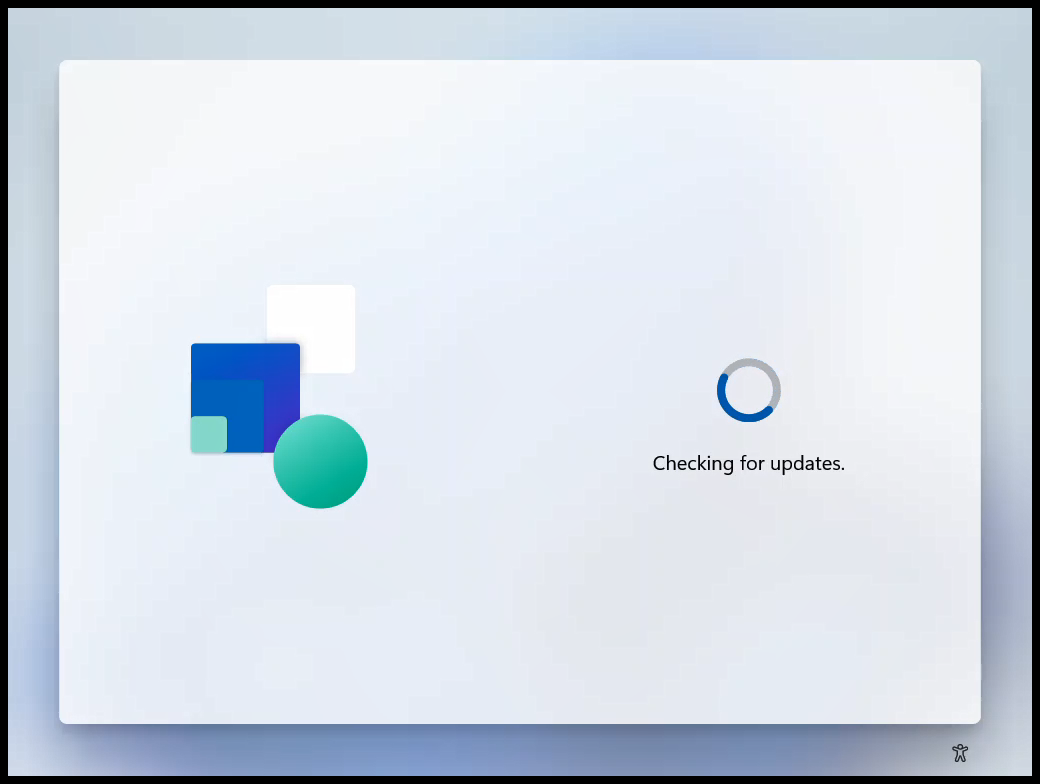
- On the next restart of the machine, the computer will check for updates.
- During this process, the computer will download the Autopilot Profile, and then restart one more time.
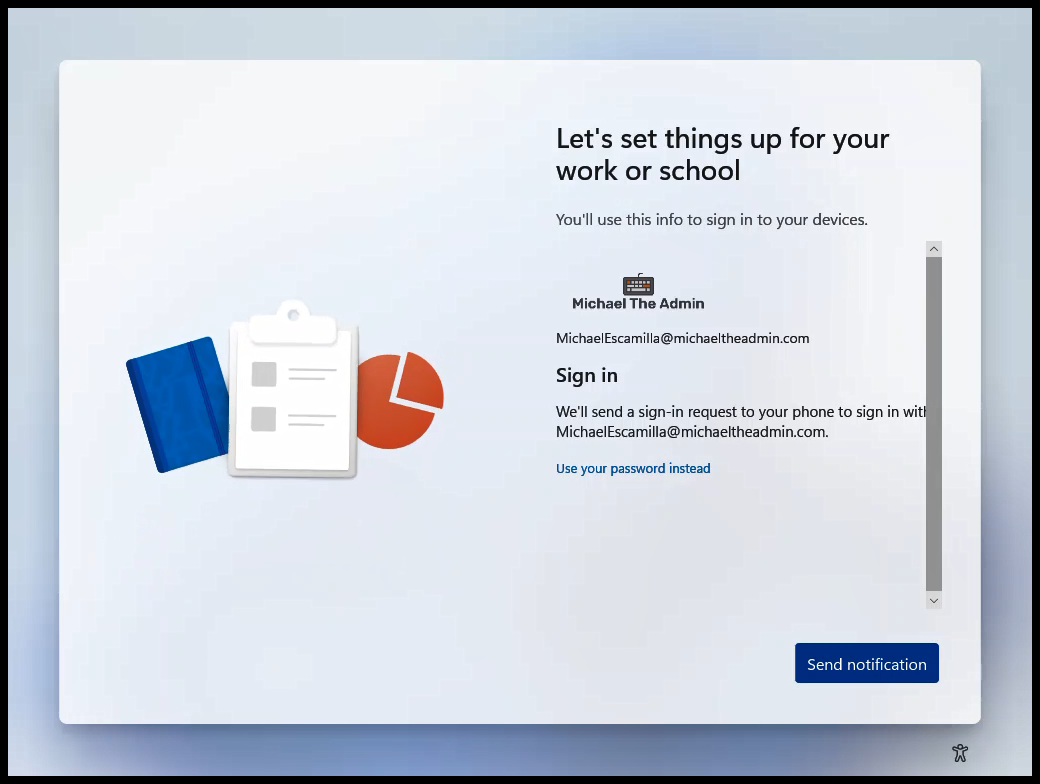
- After the restart, the AutoPilot profile should be loaded.
Next Steps? #
In future a post(s) we’ll talk about adding this to your ConfigMgr Task Sequence as a CMD file make it easier for Techs to run.
- More Information: